A Comprehensive User Manual for the Jira Plugin
A Comprehensive User Manual for the Jira Plugin: Dive into the world of Jira plugins and unlock their full potential! This guide isn’t just another manual; it’s your passport to mastering this powerful tool. Whether you’re a seasoned developer, a project manager juggling deadlines, or a curious end-user, this comprehensive resource will equip you with the knowledge and skills to navigate Jira plugins with confidence.
We’ll cover everything from installation and setup to advanced customization and troubleshooting, ensuring you get the most out of your Jira experience.
We’ll explore the core functionalities, delve into advanced features, and even uncover some hidden gems. Learn how to seamlessly integrate your plugin with other tools, optimize performance, and tackle any challenges head-on. Prepare to transform your workflow and unlock a new level of efficiency with this detailed and user-friendly guide.
Introduction to Jira Plugin User Manuals: A Comprehensive User Manual For The Jira Plugin
A comprehensive user manual is the cornerstone of a successful Jira plugin. It’s more than just a list of features; it’s a bridge connecting your plugin’s capabilities with the users who need them. A well-written manual ensures smooth adoption, reduces support tickets, and ultimately contributes to user satisfaction and the plugin’s overall success.This manual will serve as a guide for understanding and effectively using the [Plugin Name] Jira plugin.
So, I’m working on a comprehensive user manual for the Jira plugin, and it’s proving to be quite the undertaking! It got me thinking about the broader landscape of app development, especially how platforms are evolving. Check out this great article on domino app dev the low code and pro code future – it really highlights the changing dynamics.
Anyway, back to that Jira plugin manual – I’m aiming for crystal-clear instructions for even the most novice users.
We’ll cover everything from basic setup to advanced functionalities, aiming to empower all users to get the most out of our plugin.
User Types and Their Needs
Different user groups interact with Jira plugins in distinct ways, requiring tailored information. Understanding these differences is crucial for creating a user manual that caters to everyone’s needs.
- Administrators: These users are responsible for installing, configuring, and managing the plugin within their Jira instance. The manual should provide detailed instructions on installation procedures, configuration options (including security settings and integrations with other tools), and troubleshooting common administrative issues.
- Developers: Developers often need to integrate the plugin into their workflows or customize it to meet specific requirements. The manual should include information on APIs, SDKs, and any available extension points, along with examples and code snippets to facilitate integration and customization.
- End-Users: These are the individuals who directly use the plugin’s features within their daily Jira tasks. The manual needs to provide clear, concise instructions on how to use the plugin’s core functionalities, accompanied by screenshots and step-by-step guides. It should also address common use cases and scenarios.
Key Features and Functionalities to Cover
A truly comprehensive user manual should encompass all aspects of the plugin’s functionality. This includes a detailed explanation of each feature, its purpose, and how to use it effectively.
- Installation and Setup: Step-by-step instructions on installing the plugin, configuring settings, and verifying successful installation. This section should also include troubleshooting common installation problems.
- Core Functionalities: Detailed explanations of the plugin’s main features, including screenshots or diagrams illustrating usage. Each feature should have clear instructions and examples of how to use it.
- Advanced Features: Instructions for using more complex features or functionalities, possibly including examples and use cases.
- Integration with Other Tools: Details on how the plugin integrates with other tools or systems, such as other Jira plugins or external applications. This should include instructions on configuring these integrations.
- Customization and Configuration: Guidance on customizing the plugin to meet specific needs, including options for modifying settings and behaviors. This might involve using configuration files or APIs.
- Troubleshooting and Support: A section dedicated to troubleshooting common issues, along with contact information for support.
Installation and Setup Guide
Getting our Jira plugin up and running is straightforward. This section provides a step-by-step guide, along with configuration options and best practices to ensure a smooth and efficient experience. We’ll cover everything you need to know to integrate the plugin seamlessly into your Jira workflow.
The installation process involves several simple steps. Proper configuration is crucial for optimal performance and to leverage the plugin’s full capabilities. We’ll also explore some best practices to help you avoid common pitfalls and maximize your productivity.
Plugin Installation Steps
The following steps detail the installation process. Each step is accompanied by a visual representation to guide you through the procedure.
| Image | Description |
|---|---|
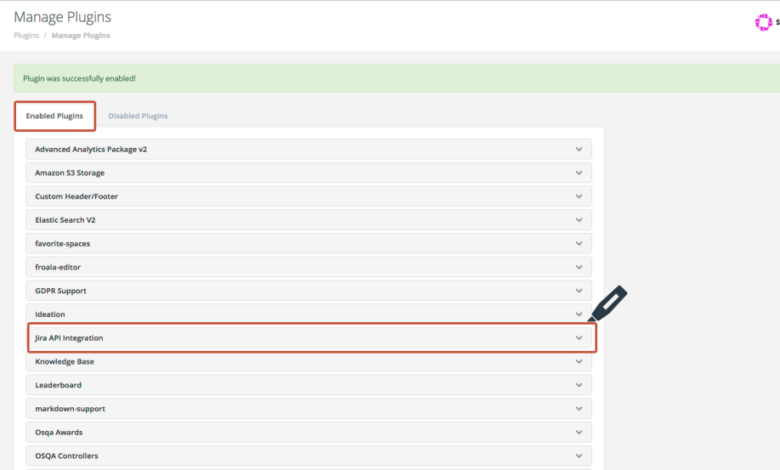
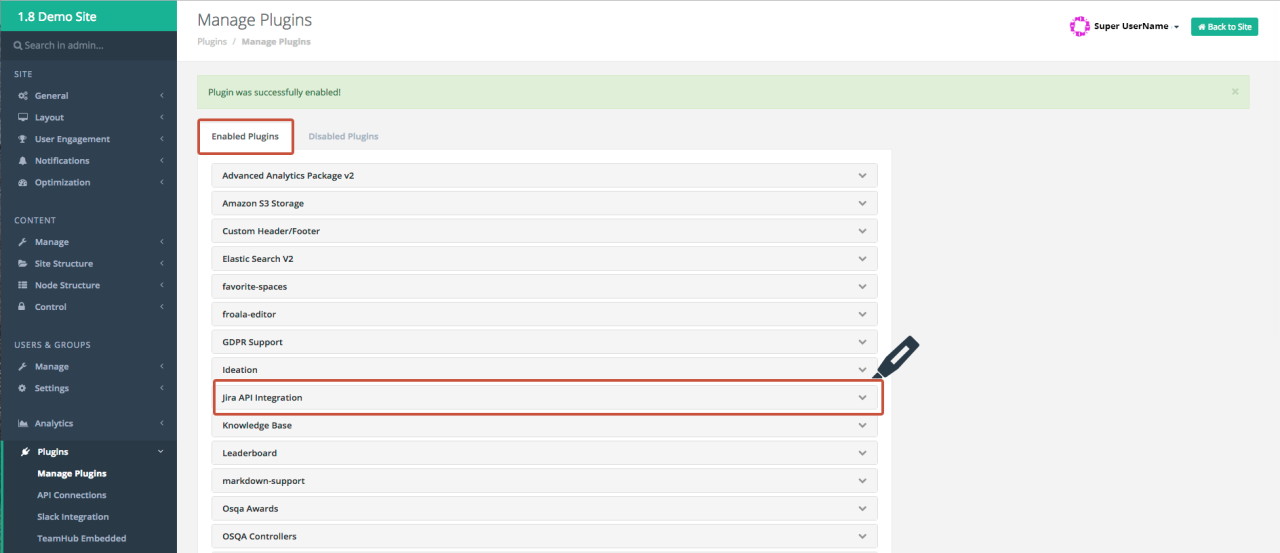
| A screenshot showing the Jira administration screen, with a highlighted “Manage apps” link. The screen should show a clean, uncluttered interface typical of Jira’s administration section. The “Manage apps” link is clearly visible, perhaps with a slight visual emphasis like a box around it. | Navigate to the Jira administration section. Usually, this involves clicking on the gear icon in the top right corner of your Jira instance. Then, select “Manage apps.” |
| A screenshot depicting the “Find new apps” section within the Jira app management interface. A search bar should be prominently displayed, along with a list of available apps (possibly blurred to protect specific data). The focus is on the area where you would search for and find our plugin. | In the “Manage apps” section, locate the “Find new apps” area. This is where you’ll search for and install our plugin using its unique identifier or name (e.g., “My Amazing Jira Plugin”). |
| A screenshot showing the plugin’s listing in the app search results. The screenshot should clearly display the plugin’s name, a brief description, and a prominent “Install” button. It should also showcase any relevant ratings or reviews. | Search for the plugin using its name. Once located, review the plugin description and user ratings. Then, click the “Install” button. |
| A screenshot displaying a confirmation dialog box, indicating successful plugin installation. The dialog box should contain a confirmation message and possibly a link to the plugin’s configuration page. | After clicking “Install,” a confirmation dialog box will appear, confirming successful installation. You may need to restart Jira for the changes to take effect. |
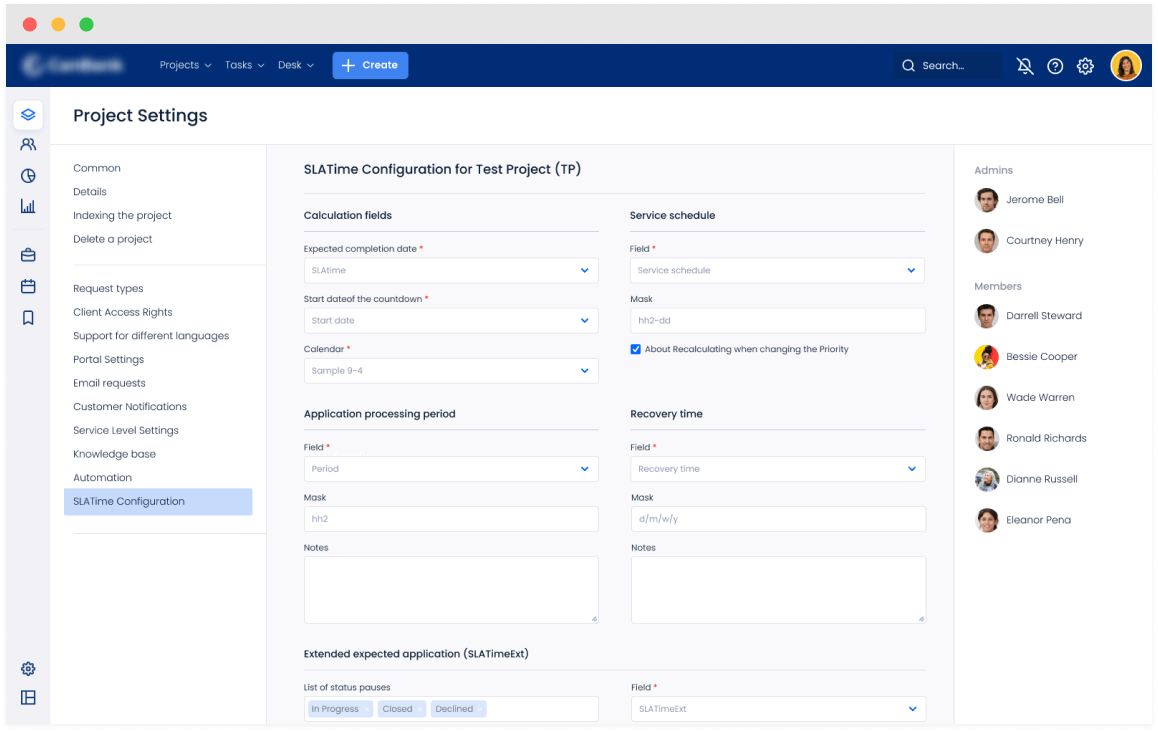
Plugin Configuration Options
Once installed, configuring the plugin is crucial for tailoring its functionality to your specific needs. These options directly impact how the plugin interacts with Jira and your workflow.
The plugin offers several configuration options, accessible through the Jira administration panel. These settings allow you to customize various aspects of the plugin’s behavior, ensuring optimal integration with your existing Jira setup and workflow. For instance, you might configure notification settings, data integration points, or specific features based on your team’s preferences and Jira project structures.
Best Practices for Optimal Performance and Usability
Following these best practices will ensure the plugin runs smoothly and efficiently, maximizing its benefits within your Jira environment. These recommendations are based on common usage patterns and performance optimization techniques.
Regularly review and update the plugin to benefit from bug fixes and new features. Avoid overloading the plugin with excessive data or complex configurations, especially during initial setup. Monitor plugin performance using Jira’s built-in tools to identify and address any potential bottlenecks. Consider testing plugin configurations in a staging environment before deploying them to production.
Core Functionality and Features
This section delves into the core functionalities and features of our Jira plugin, providing a comprehensive guide with examples and illustrative descriptions. Understanding these features will empower you to leverage the plugin’s full potential and streamline your workflow within Jira. We’ll cover each feature individually, explaining its purpose, usage, and comparing it to other features where applicable.
Feature Overview
The following table summarizes the core features of the Jira plugin, providing concise descriptions, step-by-step instructions, and visual representations. Each feature is designed to enhance specific aspects of project management within Jira, offering tailored solutions for various needs.
| Feature Name | Description | Steps | Screenshot Description |
|---|---|---|---|
| Automated Issue Assignment | Automatically assigns issues to team members based on predefined rules (e.g., skillset, workload). | 1. Configure rules in the plugin settings. 2. Specify conditions (e.g., issue type, priority). 3. Define assignment logic (e.g., round-robin, least loaded). 4. Activate the automation. |
Shows a screenshot of the plugin’s settings page, highlighting the rule configuration area with an example rule configured to assign issues of type “Bug” with high priority to the “Development Lead”. The screenshot also displays a successful assignment notification within Jira. |
| Customizable Dashboards | Creates personalized dashboards displaying relevant project metrics and issue details. | 1. Access the plugin’s dashboard creation tool. 2. Select pre-built widgets or create custom ones. 3. Configure data sources and visualizations. 4. Save and share the dashboard. |
Displays a screenshot of a sample dashboard showing charts for issue resolution time, open issues by assignee, and burndown chart. The screenshot highlights the customizable nature of the widgets and the ability to add filters. |
| Advanced Reporting | Generates detailed reports on project progress, team performance, and issue trends. | 1. Select the desired report type from the plugin’s reporting module. 2. Specify the timeframe and filters. 3. Customize the report’s appearance. 4. Generate and export the report (e.g., PDF, CSV). |
Shows a screenshot of a generated report displaying a bar chart illustrating the number of issues resolved per week, a table summarizing the team’s performance metrics (e.g., average resolution time), and a pie chart representing issue types. |
| Integration with External Systems | Connects Jira with other applications (e.g., CRM, project management tools) to centralize data. | 1. Configure the API keys and credentials for the external system. 2. Select the data synchronization options. 3. Map Jira fields to the corresponding fields in the external system. 4. Test the connection and initiate synchronization. |
Displays a screenshot of the plugin’s integration settings, showing the configuration options for connecting to a hypothetical CRM system. The screenshot also shows a successful data synchronization status. |
Feature Comparison
Automated Issue Assignment and Customizable Dashboards both aim to improve efficiency. However, Automated Issue Assignment focuses on automating a specific task (issue assignment), while Customizable Dashboards provide a broader overview of project health and progress. Advanced Reporting and Integration with External Systems both enhance data management, but Advanced Reporting focuses on internal Jira data analysis, while Integration with External Systems expands data sources beyond Jira’s internal capabilities.
Each feature serves a distinct purpose, and their combined use offers a holistic solution for project management.
Advanced Usage and Customization
This section delves into the more advanced features of the Jira plugin and provides guidance on customizing it to perfectly align with your workflow and specific requirements. We’ll explore powerful options that go beyond the basic functionality detailed in the previous sections. Mastering these techniques will significantly enhance your productivity and streamline your Jira experience.
Advanced customization allows for tailoring the plugin to seamlessly integrate with your existing Jira setup and processes. This can involve adjusting notification settings, integrating with other apps, or modifying the plugin’s visual elements to match your company branding.
Advanced Features
The following list details some of the more advanced capabilities of the plugin, offering opportunities for significant workflow improvements and enhanced user experience.
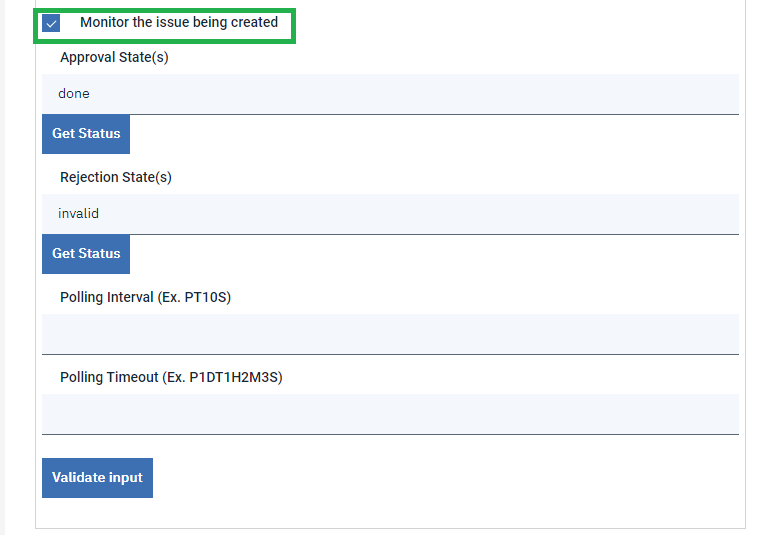
- Customizable Workflows: The plugin allows for deep integration with Jira’s workflow engine. You can create custom transitions, screens, and validators to automate tasks and enforce specific rules within your projects.
- Automated Reporting: Leverage the plugin’s API to create custom reports that pull data directly from Jira and present it in a way that best suits your analytical needs. This can involve generating charts, graphs, and customized summaries.
- Integration with External Systems: The plugin offers various APIs and integration points to connect with other tools within your technology stack. This enables seamless data exchange and automated workflows across different platforms.
- REST API Access: Programmatically interact with the plugin using its REST API. This opens up a world of possibilities for custom integrations and automation, allowing for highly tailored solutions.
- User-Specific Configurations: Allow individual users to configure specific aspects of the plugin to meet their individual preferences and working styles. This can include customizing notification settings or defining preferred views.
Customization Examples
Let’s explore some practical examples of how to customize the plugin. The following table demonstrates before-and-after scenarios for a couple of common customization tasks.
| Before Customization | After Customization |
|---|---|
|
Example 1: Default Notification Settings Illustrative image: A screenshot showing a cluttered inbox with numerous Jira notifications. |
Example 1: Customized Notification Settings Illustrative image: A screenshot showing a clean inbox with only relevant Jira notifications. |
|
Example 2: Standard Report View Illustrative image: A screenshot showing a basic table of Jira data. |
Example 2: Customized Report View Illustrative image: A screenshot showing a visually appealing chart or graph based on Jira data. |
Troubleshooting Common Challenges
While the plugin is designed for ease of use, users may encounter certain challenges. Understanding potential issues and their solutions is crucial for a smooth experience.
- Plugin Conflicts: If the plugin conflicts with other Jira add-ons, it may lead to unexpected behavior or errors. The solution involves disabling conflicting plugins one by one to identify the culprit and find a compatible configuration or alternative solution.
- Data Import Issues: Problems might arise during the import of large datasets. Troubleshooting steps include verifying data integrity, checking server resources, and adjusting import settings for optimal performance. Consider breaking large imports into smaller batches.
- API Integration Errors: Errors during API integration with external systems may occur due to authentication problems, incorrect API endpoints, or data format mismatches. Thorough verification of API credentials, endpoints, and data formats is essential for resolving these issues.
- Unexpected Plugin Behavior: If the plugin behaves unexpectedly, checking the plugin’s logs for error messages is crucial. These logs often provide valuable clues for diagnosing and resolving the problem. Also, ensuring the plugin is up-to-date is recommended.
Integration with Other Tools
This Jira plugin isn’t designed to exist in a vacuum. Its real power comes from its ability to seamlessly connect with other tools you already use, streamlining your workflows and improving overall team efficiency. This section details the key integrations and the benefits they bring to your project management.The plugin’s architecture is built around open APIs and standard protocols, making integration with various systems relatively straightforward.
This interoperability significantly enhances its flexibility and applicability across diverse organizational contexts.
Jira Plugin Integrations
The following list details the key integrations offered by the plugin, focusing on the tools commonly used in conjunction with Jira for software development and project management. These integrations aim to eliminate data silos and improve collaboration.
- Slack: Real-time notifications of Jira events (issue creation, updates, transitions) are pushed directly to specified Slack channels. This ensures team members are immediately informed of important changes, reducing reliance on email and improving response times. For example, a notification could be sent when a bug is assigned, allowing the developer to start working on it immediately.
- Confluence: Direct links to related Confluence pages are embedded within Jira issues, providing easy access to documentation, meeting notes, and design specifications. This contextual information improves understanding and reduces the need to search for relevant documents across different platforms. Imagine linking a detailed design document directly to a Jira bug report detailing an implementation issue.
- GitHub: The plugin links Jira issues with GitHub pull requests and commits. This establishes clear traceability between code changes and associated Jira tasks, improving code quality and accountability. Developers can easily see which Jira issues are addressed by a specific commit, facilitating efficient code reviews and release management. For instance, a pull request can automatically update the linked Jira issue’s status upon merge.
- Bitbucket: Similar to the GitHub integration, this integration links Jira issues to Bitbucket repositories, providing traceability between code changes and project tasks. This allows for a seamless workflow between development and issue tracking, improving overall team productivity.
Benefits of Integration
These integrations offer several key benefits, improving efficiency and collaboration across teams:
- Reduced Context Switching: Accessing relevant information from multiple tools within a single platform minimizes interruptions and improves focus.
- Improved Collaboration: Real-time notifications and shared context promote better communication and faster response times.
- Enhanced Traceability: Linking Jira issues to code changes ensures clear accountability and facilitates efficient code review processes.
- Increased Productivity: Streamlined workflows and reduced manual tasks free up time for more valuable work.
System Interaction Diagram
The diagram would depict the Jira plugin as a central hub. Arrows would emanate from the plugin to represent connections with other systems. Each arrow would be labeled with the type of data exchanged (e.g., “Issue Updates,” “Commit Information,” “Notification”). The systems represented would include Slack, Confluence, GitHub, and Bitbucket. The overall design would illustrate the plugin’s role in facilitating data flow and communication between these disparate systems, highlighting the bidirectional nature of many integrations.
For instance, an arrow pointing from Jira to Slack would represent notifications sent to Slack, while an arrow pointing from Slack to Jira might represent the ability to create or update Jira issues from Slack. The visual representation would clearly show how the plugin acts as a central point for information exchange, improving the overall workflow.
Troubleshooting and Support
This section provides guidance on resolving common issues encountered while using the Jira plugin. We’ve compiled a troubleshooting guide and listed resources to help you get back on track quickly. Remember to check the plugin’s log files for detailed error messages, which can often provide valuable clues.
Troubleshooting is an iterative process. Begin with the most straightforward solutions and progress to more advanced steps if necessary. If you are still unable to resolve the issue after following the steps below, please utilize the resources provided to contact support.
Common Issues and Solutions, A comprehensive user manual for the jira plugin
The following table summarizes common problems, their solutions, and additional notes to aid in troubleshooting. Remember to always consult the plugin’s specific documentation for the most up-to-date information.
| Problem | Solution | Additional Notes |
|---|---|---|
| Plugin not showing up in Jira | Verify the plugin was successfully installed and enabled. Check Jira’s plugin management section for errors. Restart Jira. | Ensure you have the correct version of the plugin compatible with your Jira version. |
| Plugin malfunctions after a Jira update | Check for plugin compatibility updates. If an update is available, install it. If no update exists, contact support. | Jira updates can sometimes introduce incompatibilities. Always back up your Jira instance before updating. |
| Unexpected error messages | Examine the plugin’s log files for detailed error messages. These often contain clues about the root cause. | Log files are usually located in the Jira installation directory. Consult Jira’s documentation for the exact location. |
| Data not syncing correctly | Check the plugin’s configuration settings to ensure they are properly configured. Restart the plugin or Jira. | Incorrect configuration is a frequent cause of data synchronization problems. |
| Slow performance | Check Jira’s system resources (CPU, memory). Optimize Jira’s performance settings. Contact support if necessary. | High server load can impact plugin performance. Consider upgrading your server resources. |
Available Support Resources
Several resources are available to assist you with troubleshooting and support requests. These resources offer varying levels of support, from self-service options to direct contact with our support team.
Our comprehensive FAQs cover many common questions and issues. The FAQs are regularly updated to reflect the latest information and solutions. Our support forum allows users to interact with each other and share solutions. This community-driven approach can often provide quick answers to your questions. Finally, our dedicated support team can provide personalized assistance for more complex issues.
Contact information can be found in the plugin’s documentation.
Troubleshooting Flowchart
This flowchart Artikels a step-by-step approach to troubleshooting issues with the Jira plugin. It’s designed to guide you through a logical sequence of checks and actions to quickly identify and resolve problems.
The flowchart begins with identifying the problem. Next, it directs you to check the plugin’s log files for error messages. If errors are found, the flowchart suggests reviewing the plugin’s documentation for solutions related to those specific errors. If no errors are found in the logs, the flowchart prompts a check of the plugin’s configuration settings. If the problem persists after checking the configuration, the flowchart directs you to consult the FAQs.
If the issue remains unresolved after checking the FAQs, the flowchart recommends contacting support for further assistance. The flowchart ends with a resolution or escalation to the support team.
Security Considerations
Protecting your data and maintaining the security of your Jira instance is paramount. This section details crucial security best practices when using our Jira plugin, focusing on proactive measures and mitigation strategies for potential vulnerabilities. Understanding and implementing these practices will significantly enhance the overall security posture of your Jira environment.
Proper security practices are essential to prevent unauthorized access, data breaches, and other security risks associated with using any third-party plugin. Failing to address security appropriately can lead to significant consequences, impacting both data integrity and operational efficiency.
Plugin Installation and Permissions
Careful consideration of installation procedures and permission settings is critical. Incorrect configuration can expose your Jira instance to vulnerabilities.
- Install the plugin only from trusted sources, verifying the authenticity and integrity of the downloaded file before installation.
- Grant only the necessary permissions to the plugin. Avoid granting excessive permissions that could potentially be exploited.
- Regularly review and update the plugin’s permissions to ensure they remain appropriate and aligned with your security policies.
Data Encryption and Protection
Protecting sensitive data handled by the plugin is crucial. Implementing robust encryption and access control mechanisms is essential.
- Ensure all sensitive data transmitted between the plugin and Jira is encrypted using industry-standard encryption protocols like TLS/SSL.
- Implement strong access control measures to restrict access to sensitive data based on user roles and permissions within Jira.
- Regularly back up your Jira data, including data processed by the plugin, to ensure data recovery in case of a security incident.
Vulnerability Management and Updates
Proactive vulnerability management and regular updates are vital for maintaining the security of the plugin and the Jira instance.
- Stay informed about security vulnerabilities affecting the plugin and Jira itself through official channels and security advisories.
- Apply security patches and updates promptly to address known vulnerabilities and improve the security posture of your system.
- Regularly scan your Jira instance for vulnerabilities using automated vulnerability scanning tools.
Potential Security Risks and Mitigation Strategies
Several potential security risks exist, each requiring a specific mitigation strategy. Addressing these risks proactively minimizes potential vulnerabilities.
| Potential Risk | Mitigation Strategy |
|---|---|
| Unauthorized access to plugin functionality | Implement robust authentication and authorization mechanisms, utilizing Jira’s built-in security features. |
| Data breaches due to insecure data storage | Employ encryption at rest and in transit for sensitive data, adhering to best practices for data protection. |
| Cross-site scripting (XSS) vulnerabilities | Validate and sanitize all user inputs to prevent XSS attacks. Regularly conduct security audits to identify and address vulnerabilities. |
| SQL injection vulnerabilities | Use parameterized queries or prepared statements to prevent SQL injection attacks. Utilize a robust database security system. |
Last Recap
Mastering Jira plugins can significantly boost your productivity and streamline your workflows. This comprehensive manual has served as your guide, taking you from initial installation to advanced customization and troubleshooting. Remember to leverage the resources provided and continue exploring the endless possibilities offered by Jira plugins. Happy plugin-ing!
Top FAQs
Can I use this plugin across multiple Jira instances?
It depends on the specific plugin. Some plugins are designed for single-instance use, while others support multiple instances. Check the plugin’s documentation for details.
What if I encounter an error during installation?
Refer to the troubleshooting section of this manual or the plugin’s support resources for common errors and their solutions. If you’re still stuck, consider reaching out to the plugin’s support team.
How often are plugin updates released?
Update frequency varies greatly depending on the plugin developer and the complexity of the plugin. Check the plugin’s release notes or changelog for information on the latest updates.
Is there a community forum for this plugin?
Many plugins have dedicated community forums or support groups where users can ask questions, share tips, and troubleshoot issues together. Check the plugin’s website or documentation for links to these resources.